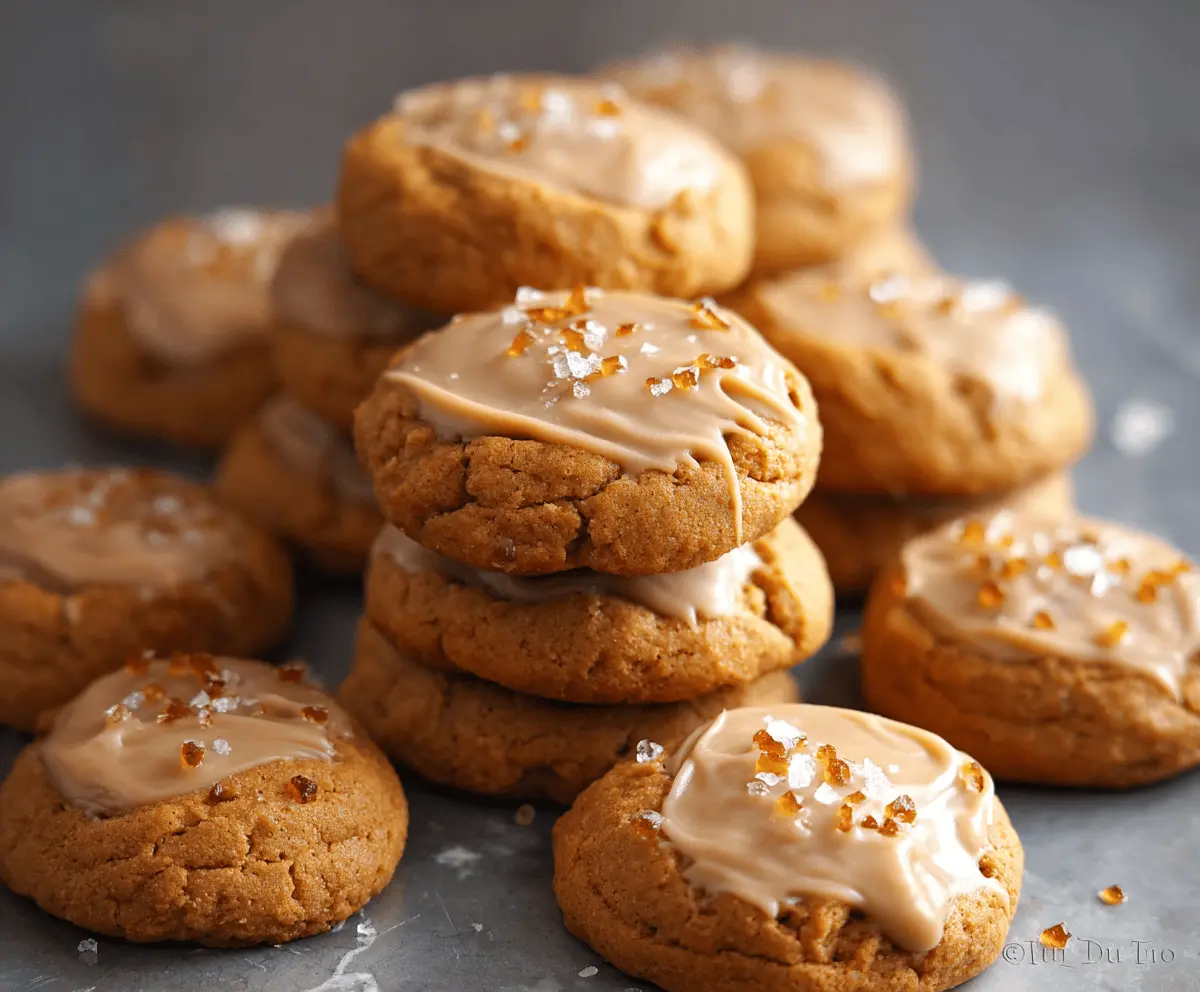
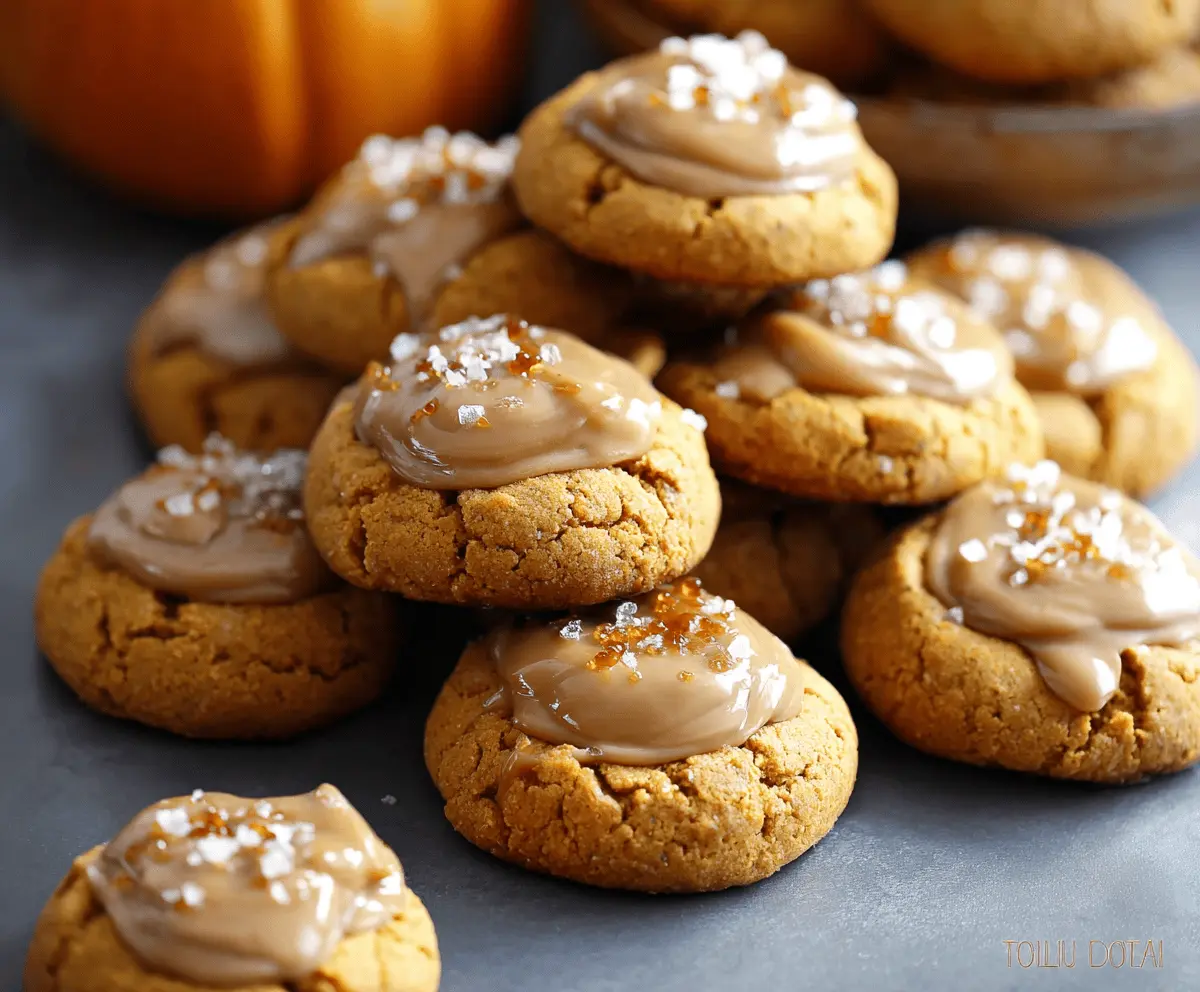
These Pumpkin Salted Caramel Cookies are soft, chewy, and packed with pumpkin flavor. The sweet caramel and a sprinkle of sea salt make each bite wonderfully tasty!
Honestly, who can resist a cookie that combines pumpkin and caramel? I love having these with a warm drink—perfect for cozy moments! 🍂
Baking these cookies is a breeze. Just mix your ingredients, scoop, and bake. They’re sure to disappear fast, so make sure to keep some for yourself!
Key Ingredients & Substitutions
Canned Pumpkin Puree: Use 100% pumpkin puree, not the spiced pie filling. If you can’t find it, homemade pumpkin puree is great, too! Just bake a sugar pumpkin until soft, scoop out the flesh, and blend until smooth.
Unsalted Butter: This is my go-to for controlling salt levels. If you’re avoiding dairy, coconut oil or a vegan butter can work well in this recipe.
Brown Sugar: It adds moisture and flavor. If you’re out, you can substitute with granulated sugar plus a bit of molasses (about 1 tablespoon per cup of sugar) to mimic that brown sugar taste.
Spices: Cinnamon is essential for fall flavor! If you want a twist, consider adding a pinch of allspice or cardamom for extra depth.
How Do I Get My Cookies Soft and Chewy?
Soft and chewy cookies come from the right balance of wet and dry ingredients. Be careful not to overmix the dough—it should just come together. Here’s how to achieve that perfect texture:
- Cream the butter and sugars until fluffy but don’t overbeat. This introduces air but we want some density too!
- Use the right amount of flour. Too much flour leads to dry cookies. Measure carefully—scoop and level off rather than packing it in.
- Let the cookies cool on the baking sheet for a few minutes before transferring them—this helps them set without getting dry.
Follow these tips, and you’ll have cookies that are not just tasty, but perfectly soft and chewy, ideal for everyone to enjoy! 🌟
How to Make Pumpkin Salted Caramel Cookies
Ingredients You’ll Need:
For the Cookies:
- 1 cup canned pumpkin puree (not pumpkin pie filling)
- 1/2 cup unsalted butter, softened
- 3/4 cup brown sugar, packed
- 1/2 cup granulated sugar
- 1 large egg
- 1 tsp vanilla extract
- 2 cups all-purpose flour
- 1 tsp baking soda
- 1/2 tsp baking powder
- 1/2 tsp salt
- 1 tsp ground cinnamon
- 1/2 tsp ground ginger
- 1/4 tsp ground nutmeg
- 1/4 tsp ground cloves
For the Salted Caramel Topping:
- 1/2 cup caramel sauce (store-bought or homemade)
- 1/4 cup powdered sugar
- 2 tbsp unsalted butter, softened
- 1 tbsp heavy cream or milk (optional, for consistency)
- Flaky sea salt, for sprinkling
How Much Time Will You Need?
This recipe takes about 15 minutes of prep time, plus 12-14 minutes of baking time. Then, allow your cookies to cool for about 5 minutes on the sheet before transferring them. Perfect for a cozy baking afternoon!
Step-by-Step Instructions:
1. Preheat the Oven:
Start by preheating your oven to 350°F (175°C). While that’s warming up, line your baking sheets with parchment paper to prevent sticking.
2. Cream the Butter and Sugars:
In a large mixing bowl, cream together the softened unsalted butter, brown sugar, and granulated sugar. Beat them with a mixer until they look light and fluffy. This should take about 2-3 minutes!
3. Add Pumpkin and Egg:
Next, add in the egg, pumpkin puree, and vanilla extract. Mix everything together until it’s well combined and smooth.
4. Mix Dry Ingredients:
In a separate bowl, whisk together the flour, baking soda, baking powder, salt, and all your warm spices (cinnamon, ginger, nutmeg, cloves). Mixing them separately ensures even distribution of baking agents and flavors!
5. Combine Wet and Dry Mixtures:
Gradually add the dry ingredients to the wet mixture, stirring gently just until the dough comes together. Avoid overmixing to keep your cookies soft and chewy!
6. Scoop the Cookie Dough:
Using a cookie or ice cream scoop, drop about 1.5 tablespoons of dough per cookie onto your prepared baking sheets. Make sure to leave about 2 inches between each cookie for spreading.
7. Bake the Cookies:
Pop the sheets into your preheated oven and bake for 12-14 minutes. You want the edges to be set and the centers to still look soft. When they’re done, let them cool on the baking sheet for about 5 minutes before transferring them to a wire rack.
8. Prepare the Salted Caramel Frosting:
While your cookies cool, whip up the caramel topping! In a medium bowl, combine the caramel sauce, powdered sugar, softened butter, and if you need it, a splash of heavy cream or milk for a smoother texture. Mix until it’s nice and smooth.
9. Frost the Cookies:
Once your cookies have cooled completely, spread a generous dollop of the salted caramel frosting on top of each cookie for that decadent touch.
10. Add the Finishing Touch:
Sprinkle a pinch of flaky sea salt over the frosting for that perfect salty-sweet contrast. It really elevates the flavors!
11. Serve and Store:
Enjoy your delicious Pumpkin Salted Caramel Cookies right away, or store them in an airtight container at room temperature for up to 3 days or refrigerated for up to a week.
These cookies are a fantastic treat for any fall gathering or cozy night in! Enjoy every bite! 🍪🎃
Can I Use Fresh Pumpkin Instead of Canned?
Absolutely! If you have a fresh pumpkin, you can roast it, scoop out the flesh, and blend it until smooth to use in place of canned pumpkin puree. Just ensure it’s well drained to avoid excess moisture in your cookies!
How Do I Make This Recipe Gluten-Free?
You can substitute all-purpose flour with a good-quality gluten-free flour blend. Look for one that includes xanthan gum for the best texture, or add 1/4 tsp of xanthan gum per cup of flour to help bind the ingredients.
What Can I Use as a Caramel Sauce Substitute?
If you don’t have caramel sauce, a dulce de leche can work beautifully. Alternatively, you can melt some butterscotch chips with a bit of cream for a quick homemade alternative. Just be sure to whisk until smooth!
How Should I Store These Cookies?
Store your cookies in an airtight container at room temperature for up to 3 days. For longer storage, keep them in the fridge for up to a week or freeze for up to 3 months. Just make sure to separate layers with parchment paper to prevent sticking!