This Heavenly Oreo Dessert is a delicious treat that combines creamy layers with crunchy Oreo cookies. It’s like a chocolate dream in a dish!
I love how easy it is to whip up—just mix, layer, and chill! It’s the perfect dessert when you’re craving something sweet and fun to share with friends. 🍪
Key Ingredients & Substitutions
Oreo Cookies: These cookies give the dessert its signature flavor. If you’re feeling adventurous, you can use any chocolate sandwich cookie as a substitute.
Butter: Unsalted butter is best for controlling the flavor. If you’re looking for a dairy-free option, try using coconut oil or a dairy-free margarine in the same amount.
Cream Cheese: Use full-fat cream cheese for a richer taste. If you’re avoiding dairy, you can opt for a vegan cream cheese alternative, which works well too!
Whipped Topping: The dish uses whipped topping like Cool Whip. If you want a homemade version, you can whip heavy cream with a bit of sugar until soft peaks form.
Instant Pudding Mix: Chocolate is a great choice here, but vanilla pudding can also work. Just remember, the flavor will change a bit!
How Do I Ensure the Perfect Layering in My Dessert?
Layering is crucial for this dessert’s structure and presentation. Follow these tips for well-defined layers:
- First, let your crust set completely before adding the cream cheese layer to prevent mixing.
- When spreading the cream cheese mixture, use a spatula to ensure an even layer without disturbing the crust.
- For the pudding layer, let it thicken for just the right texture before pouring. Whisk for about 2 minutes until it’s nicely set.
- Finally, spread the whipped topping gently, starting from the center and moving outwards to avoid mixing with the pudding.
Take your time with layering; it makes a big difference in how your dessert looks and tastes! Enjoy making it yours!
How to Make Heavenly Oreo Dessert
Ingredients You’ll Need:
For The Crust:
- 1 package (15.25 oz) Oreo cookies
- 1/2 cup unsalted butter, melted
For The Cream Cheese Layer:
- 1 package (8 oz) cream cheese, softened
- 1/2 cup granulated sugar
- 1 cup whipped topping (like Cool Whip), thawed
For The Pudding Layer:
- 1 package (3.4 oz) instant chocolate pudding mix
- 2 cups cold milk
For The Topping:
- 1 additional cup whipped topping for topping
- 1/2 cup crushed Oreo cookies for garnish
How Much Time Will You Need?
This delightful dessert takes about 20 minutes to prepare, and you’ll need to chill it in the fridge for at least 4 hours before serving. That means you can whip it up quickly and let it set while you relax or prepare for your occasion!
Step-by-Step Instructions:
1. Prepare the Crust:
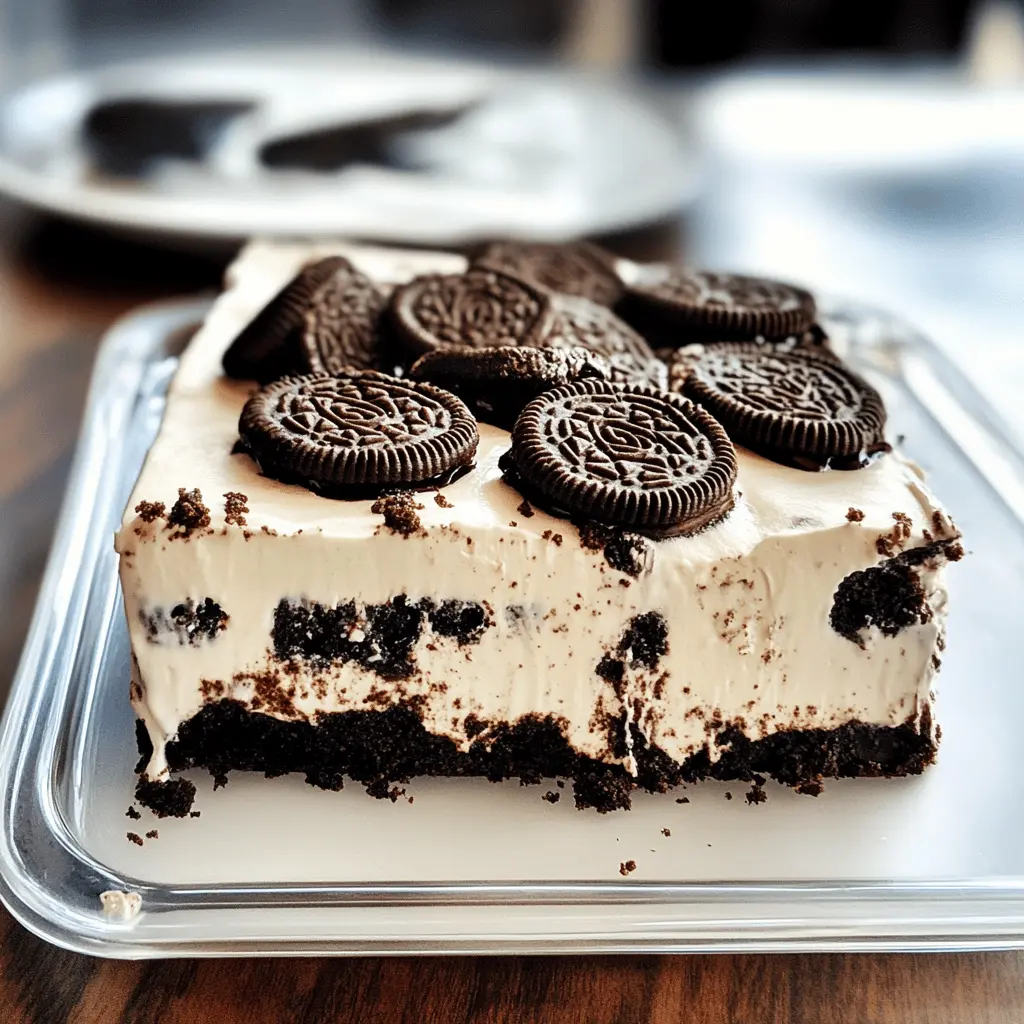
First things first, we need to make the crust! If you want, you can preheat your oven to 350°F, but remember, this dessert is a no-bake treat. Crush the Oreo cookies either in a food processor or by placing them in a plastic bag and beating them with a rolling pin until you have fine crumbs. Set aside 1/2 cup of these crumbs for topping later. In a medium bowl, mix the crushed Oreos with the melted butter until well combined. Now, press this mixture firmly into the bottom of a 9×13 inch baking dish to form a solid crust.
2. Create the Cream Cheese Layer:
In another bowl, beat together the softened cream cheese and granulated sugar until the mixture is smooth. Next, gently fold in 1 cup of thawed whipped topping until everything is blended nicely. Spread this creamy mixture evenly over the Oreo crust, making sure it covers the crust all the way to the edges.
3. Prepare the Pudding Layer:
In a separate bowl, take the instant chocolate pudding mix and pour in 2 cups of cold milk. Whisk this together until it thickens up, which should take about 2 minutes. Once you have a smooth chocolate pudding, pour it over the cream cheese layer and spread it evenly with a spatula.
4. Finish with Topping and Chill:
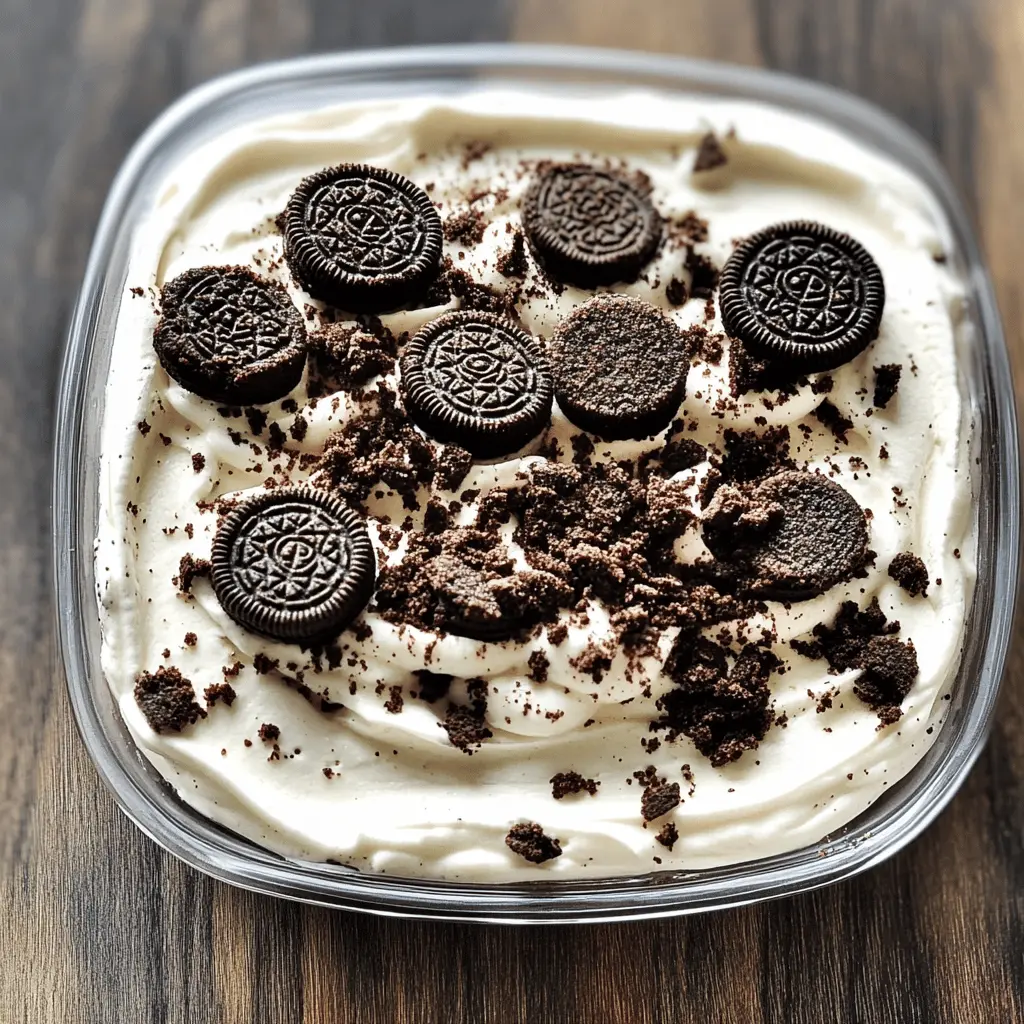
Time to add some fluffy goodness! Spread the remaining 1 cup of whipped topping over the chocolate pudding layer for a creamy finish. Now, sprinkle the reserved crushed Oreo crumbs on top for a nice garnish. It’s looking heavenly already! Cover the dessert and pop it into the fridge to chill for at least 4 hours, so it can set perfectly.
5. Serve and Enjoy:
Once the chilling time is up, take your dessert out and serve it cold. Each slice is sure to delight everyone’s taste buds, so enjoy every heavenly bite!
Can I Use Regular Cream Cheese Instead of Reduced-Fat?
Absolutely! Regular cream cheese will provide a richer flavor and creamier texture, which is perfect for this dessert. Just ensure it’s softened to room temperature for easy mixing.
How Do I Store Leftovers?
Store any leftovers in an airtight container in the fridge for up to 3-4 days. If you can, place a piece of plastic wrap directly on the surface of the dessert before sealing to prevent any crust from forming on the whipped topping.
Can I Substitute the Instant Chocolate Pudding Mix?
Yes, you can use instant vanilla pudding mix for a different flavor profile! Just keep in mind that the overall taste of the dessert will change. You could also try chocolate for a chocolate-lover’s twist!
Is It Necessary to Refrigerate Before Serving?
Yes, refrigeration for at least 4 hours is crucial for this dessert to set properly. If you’re in a hurry, plan for at least 2 hours, but the longer it chills, the better the flavors meld!