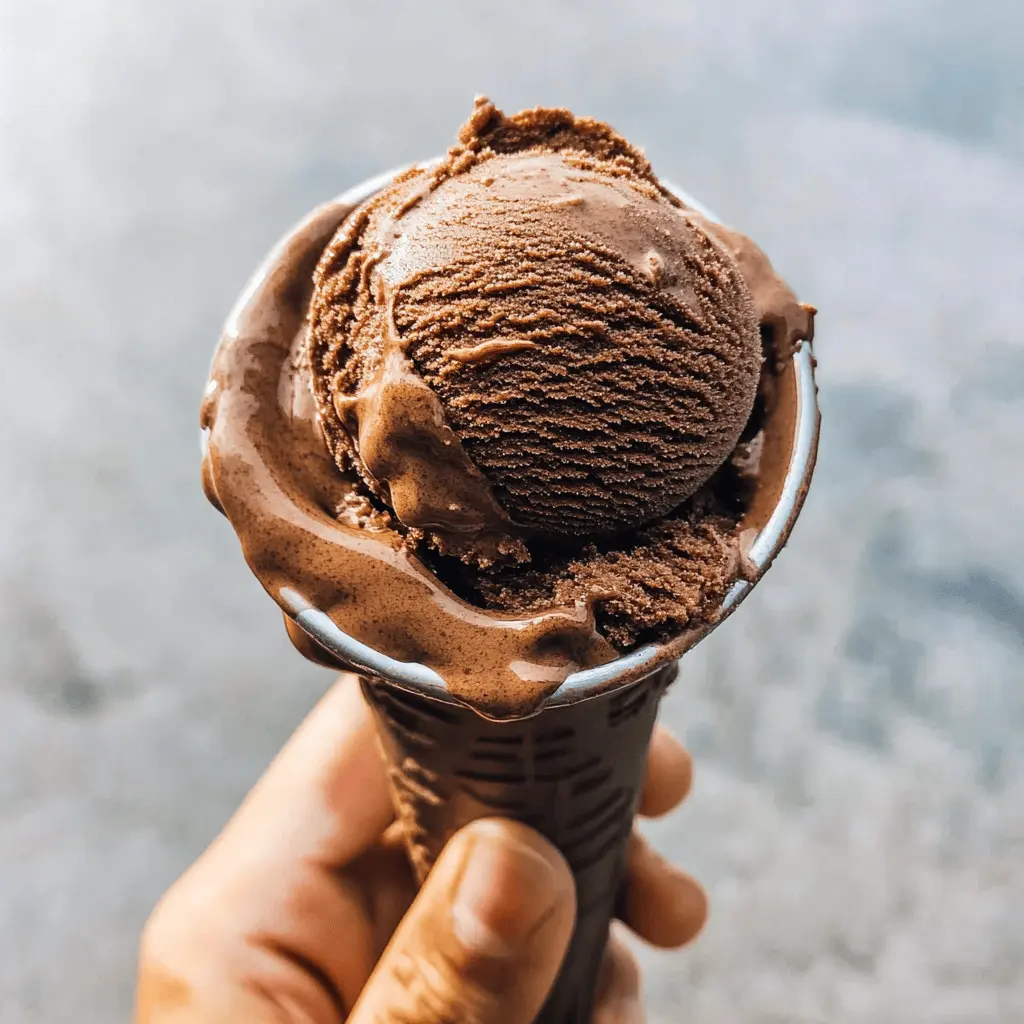
This easy classic chocolate ice cream is a real treat! With just a few simple ingredients, you can whip up a creamy, chocolatey delight that will make anyone smile.
It’s perfect for hot days or whenever you need a pick-me-up. Trust me, nothing beats a scoop of homemade chocolate ice cream! 🍦 I love serving it with sprinkles or a slice of pie—yum!
Key Ingredients & Substitutions
Heavy Cream: This is key for a rich texture. If you need a lighter version, you can use half-and-half, but the ice cream won’t be as creamy. I prefer the full-fat version for that ultimate treat!
Whole Milk: This adds creaminess, but you can use 2% or skim milk instead if that’s what you have. Just remember that the ice cream may be slightly less rich.
Granulated Sugar: Standard sugar works great, but for a twist, you could try brown sugar. It adds a hint of caramel flavor and depth to the ice cream.
Cocoa Powder: Unsweetened cocoa is the way to go for a classic chocolate taste. You can use Dutch-processed cocoa for a milder flavor or raw cacao for a more intense one if you prefer that chocolate kick.
Egg Yolks: These give the ice cream its custard-like quality. If you want an eggless version, you could use cornstarch (about 2 tablespoons mixed with a little milk) to help thicken it instead.
Vanilla Extract: This enhances the chocolate flavor. Don’t skip it! Use pure extract for the best taste. I often add a bit more than what’s called for.
How Do I Achieve the Perfect Custard Consistency?
A key part of this chocolate ice cream is making the custard. The goal is to make it thick enough to coat the back of a spoon without boiling it. Here’s how to do it:
- Warm the cream and milk until steaming, but not boiling. Stir in the sugar and cocoa.
- Gently add the warmed chocolate mixture to the whisked egg yolks to prevent scrambling.
- Return the mix to heat and keep stirring. The secret is patience! Keep it on medium-low heat, and just wait for it to thicken.
- Using a thermometer is great, but look for that “coat the back of a spoon” test—if it does, you’re golden!
With a little care, you’ll have a delicious custard base to churn into ice cream!
Easy Classic Chocolate Ice Cream
Ingredients You’ll Need:
- 2 cups heavy cream
- 1 cup whole milk
- 3/4 cup granulated sugar
- 1/2 cup unsweetened cocoa powder
- 1/4 teaspoon salt
- 5 large egg yolks
- 1 teaspoon pure vanilla extract
- Optional: 2 ounces semi-sweet chocolate, finely chopped (for extra richness)
How Much Time Will You Need?
This delicious chocolate ice cream takes about 20 minutes to prepare, plus at least 4 hours to chill the custard and 2 hours to freeze the ice cream. Total time needed is around 6 hours and 20 minutes, but most of that is waiting time! Patience is key for the best results.
Step-by-Step Instructions:
1. Mix the Base:
In a medium saucepan, combine the heavy cream, whole milk, granulated sugar, unsweetened cocoa powder, and salt. Use a whisk to blend everything together over medium heat. Keep stirring until the mixture is hot but not boiling, and the sugar is fully dissolved. This is the base for your ice cream!
2. Prepare the Egg Yolks:
In a separate bowl, whisk the egg yolks until they are smooth and a bit paler in color. This process helps create a nice, creamy texture in your ice cream.
3. Combine Ingredients Slowly:
Now, take about 1 cup of the hot chocolate mixture and very slowly pour it into the egg yolks while whisking continuously. This is called tempering and prevents the eggs from cooking too quickly. It ensures a silky smooth custard.
4. Cook the Custard:
Pour the tempered egg yolk mixture back into the saucepan with the remaining chocolate mixture. Cook over medium-low heat, stirring continuously with a wooden spoon or spatula. Keep an eye on the temperature! You’re looking for the custard to thicken and coat the back of a spoon (around 170–175°F or 77–80°C). Remember, do not let it boil!
5. Final Touches:
Once thickened, remove from heat. Stir in the vanilla extract and the optional chopped chocolate (if using) until smooth and melted. This will add extra richness to your chocolate ice cream.
6. Strain the Mixture:
To ensure there are no lumps, strain the custard through a fine-mesh sieve into a clean bowl. This step is important if you want a creamy ice cream without any bits of cooked egg.
7. Chill the Custard:
Cover the bowl with plastic wrap, pressing it directly onto the surface of the custard to prevent a skin from forming. Refrigerate until completely chilled, which will take at least 4 hours or overnight if you prefer.
8. Churn the Ice Cream:
Once chilled, pour the custard into your ice cream maker. Churn according to the manufacturer’s instructions. Usually, it takes about 20–25 minutes until the ice cream reaches a soft-serve consistency.
9. Freeze and Firm Up:
Transfer the churned ice cream to an airtight container and freeze for at least 2 hours. This step helps it firm up and become scoopable!
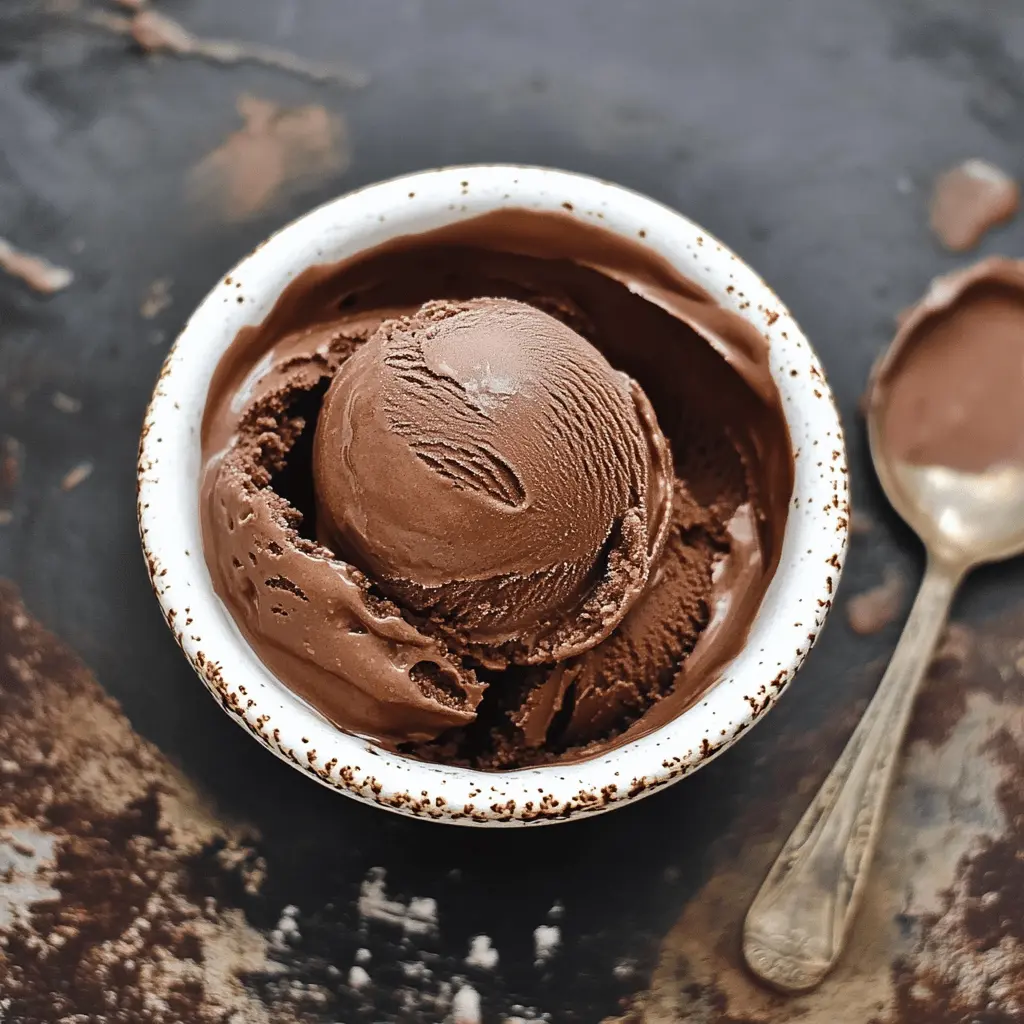
10. Serve and Enjoy:
When you’re ready, scoop out your creamy, delicious chocolate ice cream, and enjoy it on its own or with your favorite toppings—perhaps some sprinkles or chocolate sauce. Enjoy your homemade treat!
FAQ for Easy Classic Chocolate Ice Cream
Can I Use a Different Type of Milk?
Yes! While whole milk provides creaminess, you can use 2% or even skim milk. Just keep in mind that the ice cream will be less rich and creamy. For a dairy-free option, try using coconut milk or almond milk!
How Can I Make This Ice Cream Eggless?
If you’d like to avoid eggs, you can use a base of sweetened condensed milk combined with cream. Replace the egg yolks with about 1 can (14 ounces) of sweetened condensed milk and mix it with the cream and milk. Skip the cooking step and simply churn after mixing!
What Should I Do If I Don’t Have an Ice Cream Maker?
No ice cream maker? No problem! Pour the chilled custard into a shallow dish and freeze. Stir vigorously with a fork every 30 minutes for about 3-4 hours until it’s fluffy and frozen. This method gives you a great ice cream texture without a machine!
How Should I Store Leftover Ice Cream?
Store any leftovers in an airtight container and place it in the freezer. It should keep well for about 2-3 weeks. For the best texture, let it sit at room temperature for a few minutes before scooping, as homemade ice cream can become quite hard when fully frozen.