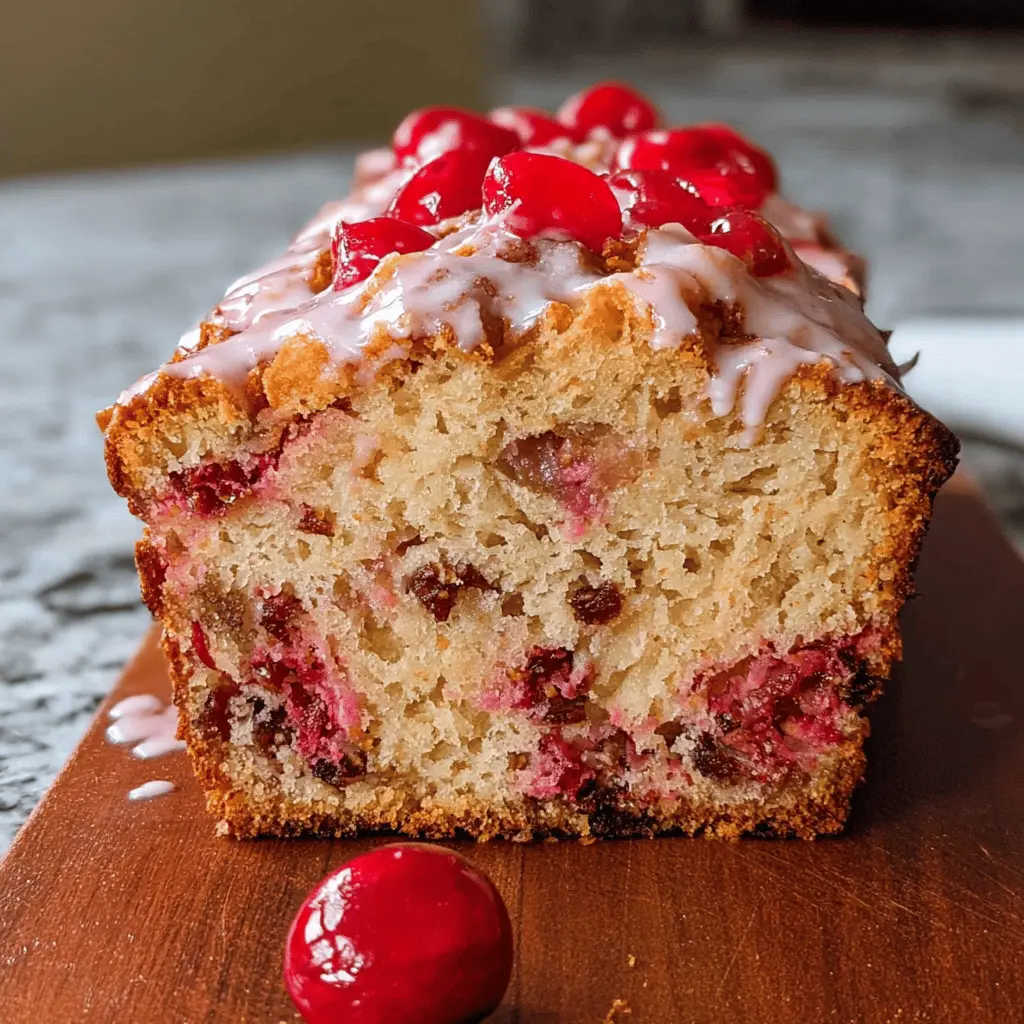
This Easy Classic Cherry Bread is a lovely treat packed with the sweet taste of cherries. It has a soft, fluffy texture that makes it perfect for breakfast or a snack!
I love how simple it is to whip up! Just mix your ingredients, fold in the cherries, and let the oven do the work. It makes my kitchen smell amazing every time! 🍒
Key Ingredients & Substitutions
Butter: Unsalted butter is best for this recipe as it gives you control over the salt content. If you prefer, you can use coconut oil or a dairy-free butter for a healthier option.
Sugar: Granulated sugar creates a nice sweetness, but you can substitute with brown sugar for a richer flavor and moisture. If you’re looking for a low-calorie option, use a sugar substitute suitable for baking.
Maraschino Cherries: These cherries add a sweet burst of flavor. If you’re looking for a fresh twist, you could use fresh cherries or frozen ones, just make sure they are pitted and chopped. Keep in mind, fresh cherries might not be as sweet.
Flour: All-purpose flour works great, but you can try using whole wheat flour for a heartier texture. You may need to adjust the liquid slightly if using a different type of flour.
How Can I Ensure My Bread Comes Out Moist?
Moisture is key in making great cherry bread! Here are some tips:
- Be careful not to overmix the batter. Just mix until the ingredients are combined; this helps keep the bread tender.
- Using the right amount of liquid matters. If your mix seems too thick, a bit more milk can help achieve a smoother batter.
- Make sure to use patted-dry cherries to prevent excess liquid in the batter, which can lead to soggy bread.
- Don’t skip the cooling step! Letting the bread cool in the pan for a bit before transferring it helps it maintain moisture.
Easy Classic Cherry Bread
Ingredients You’ll Need:
- 1 cup (225g) unsalted butter, softened
- 1 cup (200g) granulated sugar
- 3 large eggs
- 1 tsp vanilla extract
- 2 cups (250g) all-purpose flour
- 1 tsp baking powder
- 1/2 tsp salt
- 1/2 cup (120ml) milk
- 1 1/2 cups chopped maraschino cherries (drained and patted dry)
- Optional glaze:
- 1 cup powdered sugar
- 2 tbsp maraschino cherry juice or milk
- Few drops red or pink food coloring (optional)
- Garnish: whole maraschino cherries with stems
How Much Time Will You Need?
This Easy Classic Cherry Bread takes about 20 minutes to prepare, and then you’ll need to bake it for around 60-70 minutes. After that, remember to let it cool before adding the glaze. So, plan for about 1.5 hours in total!
Step-by-Step Instructions:
1. Prepping Your Oven and Pan:
Start by preheating your oven to 350°F (175°C). Grease and flour a 9×5 inch loaf pan, or you can line it with parchment paper for easy removal later.
2. Creaming Butter and Sugar:
In a large mixing bowl, combine the softened butter and granulated sugar. Using a hand mixer (or a whisk if you’re feeling strong!), cream them together until the mixture looks light and fluffy—about 3 to 5 minutes.
3. Adding Eggs and Vanilla:
Next, beat in the eggs one at a time, taking a moment to mix well after each addition. Stir in the vanilla extract until everything is combined.
4. Mixing Dry Ingredients:
In a separate bowl, whisk together the flour, baking powder, and salt. This will help distribute the leavening evenly throughout your bread.
5. Combining Wet and Dry Ingredients:
Gradually add the dry flour mixture to the wet ingredients, alternating with adding the milk. Start and end with the flour mixture. Mix gently until just combined—don’t overdo it!
6. Adding Cherries:
Now it’s time to add that cherry goodness! Gently fold in the chopped maraschino cherries, making sure they’re evenly distributed in the batter.
7. Pouring the Batter:
Pour the batter into your prepared loaf pan and smooth out the top. It should sit nice and even.
8. Baking Time!
Pop your loaf pan into the preheated oven and bake for about 60-70 minutes. Check for doneness by inserting a toothpick into the center—if it comes out clean, it’s ready! If it starts to brown too quickly, you can tent it loosely with foil during the last 15 minutes.
9. Cooling Down:
Once baked, remove the bread from the oven. Let it cool in the pan for about 10 minutes, then carefully transfer it to a wire rack to cool completely.
10. Making the Glaze:
For an extra touch, prepare the glaze! In a small bowl, whisk together the powdered sugar, cherry juice (or milk), and a few drops of food coloring until smooth. It should be pourable but not too runny.
11. Glazing the Bread:
Once the bread is completely cool, drizzle the glaze over the top and let it set slightly.
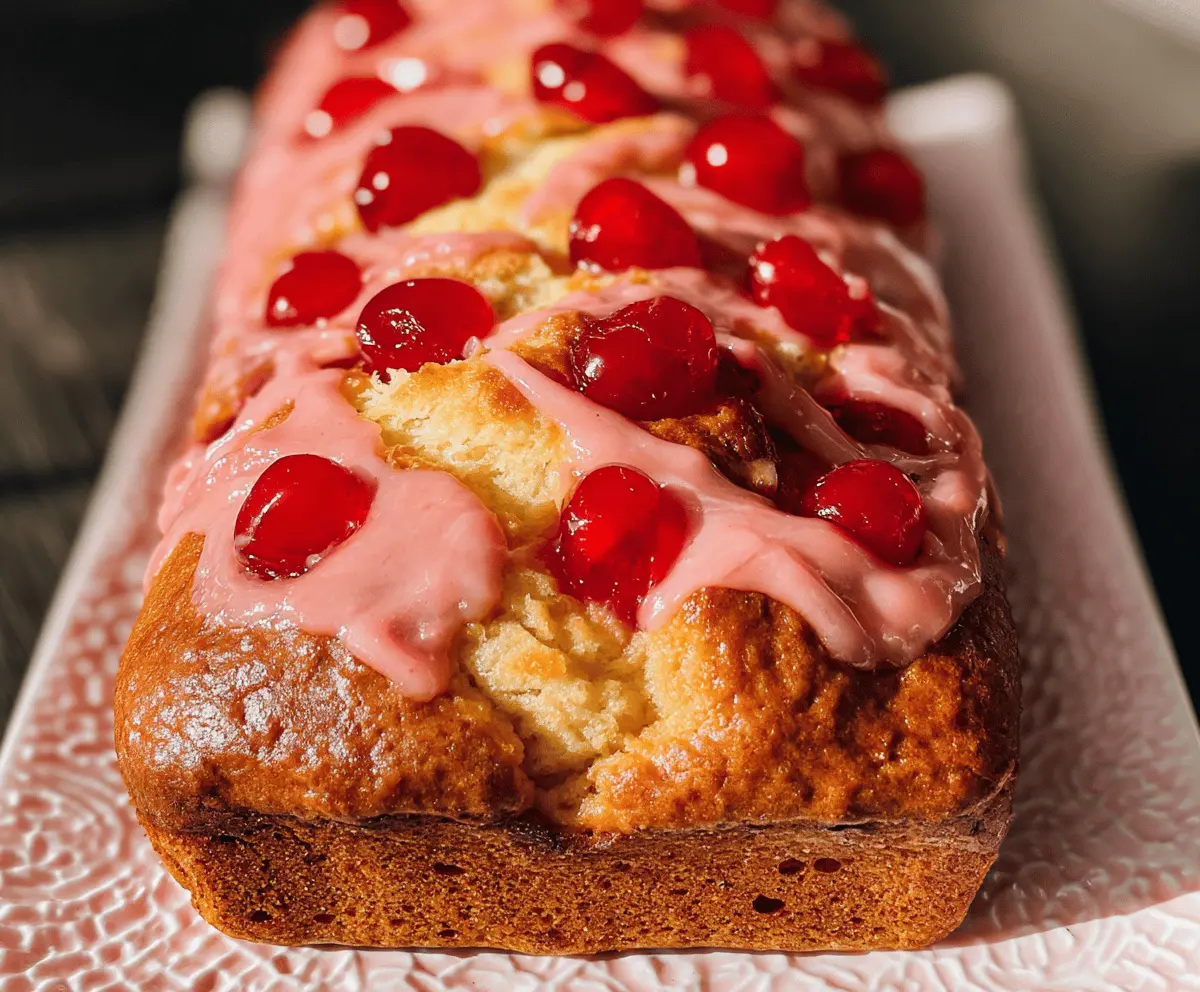
12. Garnishing and Serving:
For that perfect presentation, add whole maraschino cherries on top as a garnish. Slice, serve, and enjoy the delightful, moist cherry bread!
This recipe not only captures the moist texture but also highlights the vibrant cherry pieces, complemented beautifully by the light pink glaze and garnished cherries on top. Enjoy your bake! 🍒
FAQ About Easy Classic Cherry Bread
Can I Use Different Types of Cherries?
Absolutely! While maraschino cherries are sweet and add a nice color, you can substitute with fresh or frozen cherries. If using fresh cherries, just be sure to pit and chop them, and if using frozen, let them thaw and pat them dry to avoid excess moisture in the batter.
How Should I Store Leftover Cherry Bread?
To keep your cherry bread fresh, store it in an airtight container at room temperature for up to 3 days. If you want to keep it longer, you can refrigerate it for about a week, or even freeze it for up to 3 months. Just make sure to wrap it tightly in plastic wrap and aluminum foil before freezing!
Can I Make This Recipe Gluten-Free?
Definitely! You can substitute the all-purpose flour with a 1:1 gluten-free flour blend. Make sure it contains xanthan gum or add a 1/2 teaspoon to help mimic the texture of regular flour.
What Should I Do if My Bread Sinks in the Middle?
A sinking bread can happen for a few reasons. Make sure you don’t overmix the batter, as it can incorporate too much air and lead to collapse. Additionally, ensure your leavening agents (like baking powder) are fresh for proper rising. If your bread doesn’t seem set, consider baking it a little longer at a lower temperature.